If you’re trying to figure out How to make custom business cards at home, you’re probably in one of two moods: excited to DIY, or mildly annoyed that you just need decent cards by tomorrow.
Good news. You can make cards at home that look clean and professional, as long as you pick the right method, the right paper, and you do one boring thing first: a test print.
Below is the practical guide. Printers, paper, templates, cutting, and a few shortcuts that save you from reprinting the same sheet five times.
Start with the real question: how many cards do you need?
This changes everything.
- 10 to 50 cards: printable business card sheets are the easiest path.
- 50 to 200 cards: sheets still work, but cardstock printing and cutting starts to make sense.
- 200+ cards: you can do it at home, but it becomes a project. At that point, you’re mostly paying with your time.
And ask yourself what “good” means:
- Do you need full color with photos?
- Do you care if it’s full bleed (ink to the edge)?
- Do you need double-sided cards?
- Do you want a matte look, a gloss look, or something textured?
Be honest. Home setups can look great, but foil, letterpress, and fancy edge paint are not “Saturday afternoon” jobs.
Option 1: Use printable business card sheets (fastest and least painful)
Printable sheets are pre-cut (or perforated), so you print a full page and pop the cards out. If you’ve never done this before, start here.
What to buy:
- Standard business card sheets (often 10 cards per letter-size sheet)
- “Print to the edge” sheets if you want a full-bleed look (more picky, but nicer)
How it works:
- Pick a template that matches the product number on the package.
- Design your card (or drop your design into the template).
- Print one test page on regular paper first.
- Print on the business card sheets.
A lot of people make the mistake of designing from scratch at 3.5 x 2 inches and hoping it lines up. Using the matching template removes most of that pain.
Option 2: Print on cardstock, then cut (more control, more work)
This is how you do “real” custom cards at home: print on a larger sheet (letter size, A4, or 12×18 if you have the printer for it), then cut down to size.
Picking cardstock that won’t disappoint you
You’ll see paper described by weight in different ways (lb, gsm, “cover” vs “text”). For business cards, you typically want cover stock.
Quick feel guide:
- 80 lb cover: decent, but can feel a little light
- 100 lb cover: nice for home printing
- 110 lb cover: thicker, but not every printer feeds it well
Finish matters too:
- Uncoated: easier to write on, more “natural” look
- Matte coated: sharper colors, still readable
- Gloss coated: color pops, fingerprints show up, and scratches are real
If your printer struggles feeding thick stock, don’t fight it for an hour. Use a slightly lighter cover stock or switch to printable sheets.
Full bleed at home is possible, but it’s fiddly
“Full bleed” means ink goes to the edge. Many home printers do not truly print edge-to-edge on thick stock. Some can do borderless printing on photo paper sizes, but business-card-on-cardstock can be tricky.
If you want the full-bleed look at home, you have three common paths:
- Use print-to-the-edge business card sheets
- Print slightly oversized on a borderless-supported size, then cut down
- Accept a small white margin and design around it (honestly, this is fine)
Printer choices that work well for business cards
Here’s the simple rule:
- If your cards are mostly text, logos, and clean shapes, a color laser can be a great fit.
- If your cards are photo-heavy, gradient-heavy, or color-critical, go inkjet.
And if you print a lot, look hard at ink tank printers. Cartridges get expensive fast.
What to look for (features that actually matter)
- Manual or rear feed for thicker cardstock (less jamming, less curling)
- Good photo and graphics quality if your design is color-heavy
- Reliable duplex if you need double-sided cards
- Borderless printing support if you’re chasing full bleed
- Decent paper handling (a printer that hates cardstock will ruin your day)
Best “styles” of printers for home business cards
1) Ink tank inkjet (best for lots of cards without constant ink buying)
These are great when you want low cost per print and solid color. They’re popular for home offices because you refill bottles instead of swapping tiny cartridges.
2) Photo-focused inkjet (best for rich color and clean gradients)
If your business card has photography, a detailed illustration, or subtle gradients, this category usually wins.
3) Color laser (best for crisp text and speed)
Laser is awesome for sharp type and quick runs. It also tends to be less fussy about smudging. The tradeoff is photo quality can look a bit flat compared to a good inkjet.
If you want a simple shortlist to start your research, look up current top picks in each category and then match them to your needs (photo quality vs speed vs cost-per-page). That beats buying a random printer and hoping it loves cardstock.
Design setup that avoids the most common home-print failures
Even if you’re a “throw it in Canva and send it” person, a few basics matter.
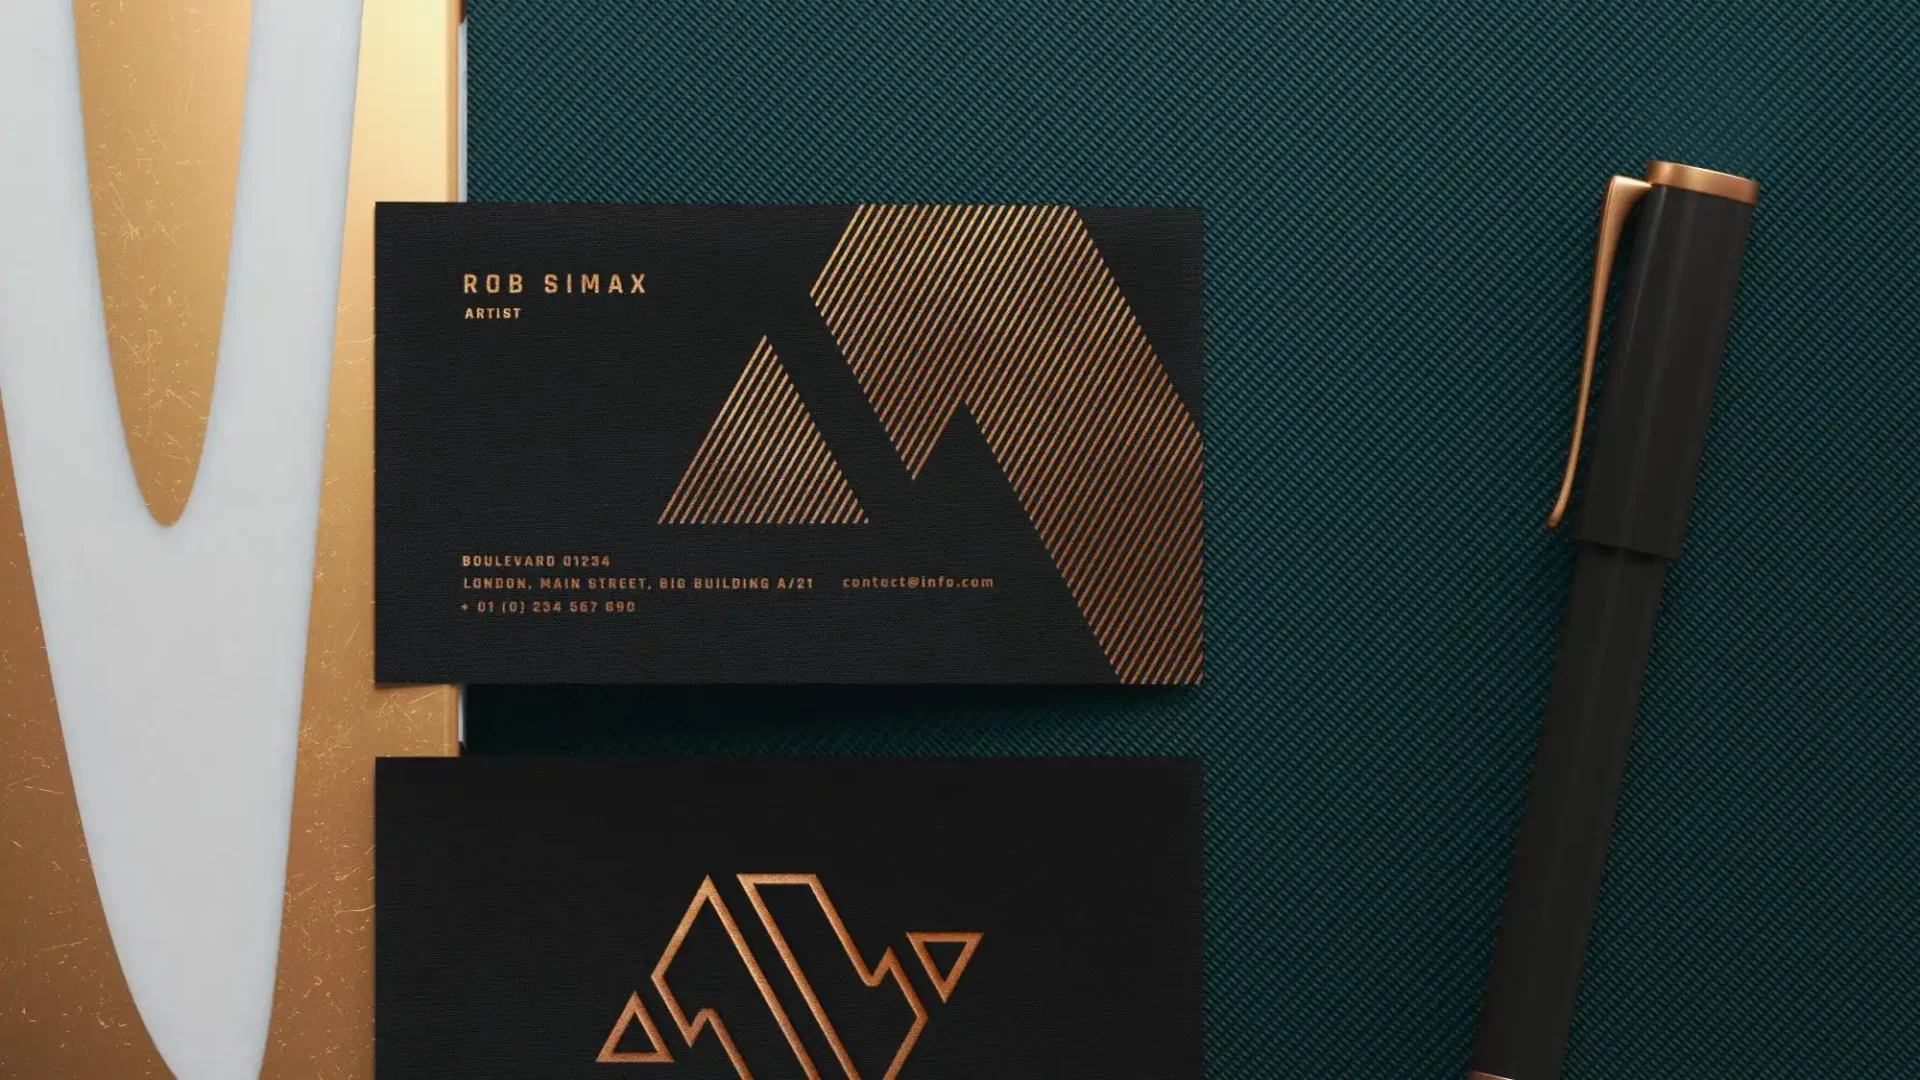
Use the standard size and safe area
Standard US business cards are 3.5 x 2 inches.
If you’re printing and cutting yourself:
- Add bleed if you’re doing backgrounds that go to the edge.
- Keep important text away from the edges. Home cutting is not perfect.
Use high-resolution images
If your logo looks fuzzy on screen, it will look worse on paper. Use high-res assets. For print, 300 dpi at final size is a safe target for raster artwork.
Export in a print-friendly format
PDF is usually your best bet for home printing business cards, especially if you’re printing from different devices.
If you want a quick checklist for “does my artwork setup make sense,” this page is label-focused, but the advice transfers well to business cards too: Common Wine Label Sizes and Tips for Artwork Setup
Print settings that make a bigger difference than people think
When people say “my home printer prints weird,” it’s often a settings issue.
Try this:
- Set scaling to 100% (no “fit to page”)
- Pick the correct paper type in the print dialog (matte, glossy, cardstock, etc.)
- Use a higher quality setting for business cards, especially on inkjets
- Print one sheet at a time until you trust your setup
- Let ink dry fully before stacking or cutting
If you’re using borderless modes, be ready for a little trial and error. Borderless printing can slightly enlarge the image to cover the edge, which can throw off alignment on templates.
Cutting tools that make your cards look “not homemade”
If you print on cardstock, cutting is where the card either looks sharp or looks like you fought it.
Basic tools that help a lot:
- Rotary trimmer for clean straight cuts
- Guillotine cutter if you’re doing lots of sheets
- Corner rounder if you want rounded corners (and you do not want to cut those by hand)
And measure your first sheet before cutting the whole stack. Your printer may shift placement slightly. Adjust once, then run the batch.
Simple finishing options
You can keep it simple:
- Uncoated or matte stock often looks more “premium” than people expect.
- A light lamination can add durability, but it also adds thickness and can look plasticky if it’s too glossy.
If you want durability without shine, look for matte laminate sheets or matte self-adhesive overlays.
Quick troubleshooting
My ink smears
- You may be using the wrong paper type setting.
- Give it more dry time.
- Some glossy stocks need specific inkjet coatings.
Colors look dull
- Your printer may be using a “draft” or “plain paper” profile.
- Try a photo or high-quality mode.
- Matte stocks naturally mute color a bit.
Front and back don’t line up
- Duplex alignment varies by printer.
- Consider printing single-sided, then manually feeding for side two.
- Or redesign the back to be more forgiving (centered elements, no thin borders).
I keep getting a white border
- Many printers have non-printable margins unless you use borderless modes or specific media sizes.
- Use print-to-the-edge business card sheets, or design with a border on purpose.
When it makes more sense to order instead of DIY
If you need any of these, consider ordering:
- 500+ cards
- super thick stock (like 32pt)
- foil, emboss, deboss, spot UV
- perfect edge consistency (especially for minimalist designs)
But for quick networking events, pop-up shops, or a small side hustle, learning How to make custom business cards at home is still a solid move. You’ll get cards fast, you can iterate, and you can change details without waiting on shipping.
Conclusion
How to make custom business cards at home comes down to picking the right workflow.
If you want fast and easy, use printable business card sheets with the matching template. If you want more control, print on cardstock and cut with a real trimmer. And if you want the best results for color-heavy designs, pick an inkjet (ideally ink tank) that can handle thicker media without jamming.
Do a test print first. Yes, it’s boring. It also saves the most money.