Wire and spiral binding is what you choose when you want a book to behave like a book and a clipboard at the same time. It lays flat. It can fold back on itself. And it’s forgiving on page count, which is great because real-world projects rarely land on a perfect number.
At a high level, the process is simple: you print the pages, trim the book block, punch holes along the binding edge, then secure the pages with either a wire (Wire-O / double-loop wire) or a spiral coil threaded through those holes.
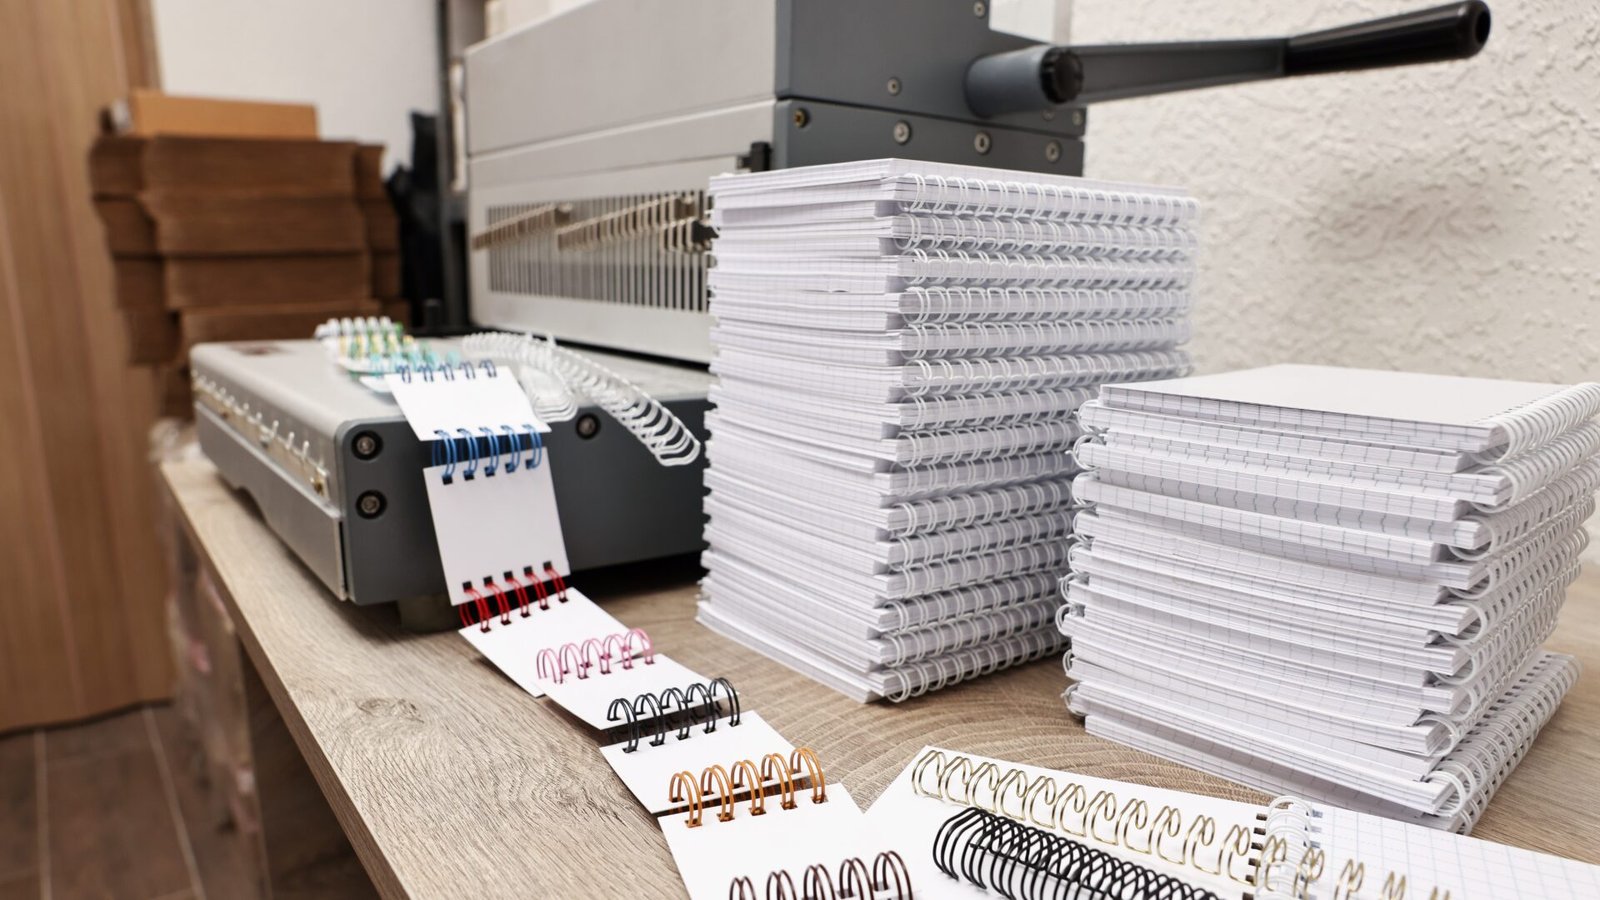
How wire and spiral binding is made
Most wire and coil jobs follow this workflow:
1) Print and stack the book block
Pages are printed as loose sheets (not nested signatures like saddle stitch).
2) Trim all four sides
The stack is trimmed square so everything lines up before punching. This is where the finished size is “locked in.”
3) Punch (or drill) the binding holes
Holes are made along one edge. In production, this is typically punched with a specific hole pattern (pitch), but you’ll also hear people say “drilled” as shorthand.
4) Insert the binding
- Wire binding: a pre-formed metal wire is fed through the holes, then closed (crimped) to clamp the pages together.
- Spiral (coil) binding: a plastic or metal coil is threaded through the holes like a screw.
5) Finish details
Covers may be laminated, corners rounded, calendars might get a hanger hole, and coils are crimped/cut so they don’t back out.
Why page count is easier with this binding
Because pages aren’t folded and stapled/sewn through a spine, wire and spiral binding doesn’t require the “multiple of 4” page rule you see in saddle-stitched booklets. Instead, your final page count can usually be in increments of 2 (because pages are still front/back).
That’s a big deal for projects like workbooks and manuals where you don’t want to add two blank pages just to make math happy.
Wire vs spiral: what’s the difference?
Both are “punch-and-bind,” but they behave a little differently.
Wire binding (Wire-O / double-loop wire)
Best when you want a cleaner, more professional look.
- Lays flat and can fold back
- Feels more “finished” and premium than plastic coil
- Downsides: wire can get bent if the book is tossed in a bag a lot, and once it’s bent, it tends to stay bent
Spiral/coil binding (plastic or metal coil)
Best when durability and flexibility matter.
- Great for folding fully back on itself
- Plastic coils are forgiving and tough for daily use
- Downsides: coil books can feel a bit more “school/workbook,” and if ends aren’t finished correctly, coils can sometimes walk out over time
Best use cases
This binding is popular for a reason. It solves real problems.
Calendars
- Lay-flat is non-negotiable
- Easy page flipping
- Often paired with a hanger hole or wire hook option
Cookbooks
- Stays open on a counter without fighting you
- Consider tougher covers and lamination if it’s going to live near flour, oil, and chaos
Workbooks and activity books
- Pages lay flat for writing
- Page counts are flexible (increments of 2)
- Great for training manuals, planners, kids’ activity books, and classroom materials
Design and production tips that prevent heartbreak
If you only remember a few things, make it these.
Leave a real binding margin
The holes eat space. If your text, icons, or worksheet lines are too close to the binding edge, they’ll either get punched through or become annoying to read/write near.
A safe approach:
- Increase the inside margin on the binding side
- Keep important content comfortably away from where the holes will land
Plan for the “lay-flat reality”
Wire and coil books open nicely, but the binding still creates a physical bump near the edge. For write-in workbooks, give people room so their hand isn’t fighting the coil.
Match the binding size to the page count
Thicker books need a larger wire/coil diameter. Too small and pages won’t turn smoothly. Too large and the book feels floppy.
Covers matter more than you think
Most coil/wire projects feel dramatically better with:
- A heavier cover stock, or
- Lamination (especially for anything handled often)
Think about orientation early
Calendars, flipbooks, and certain manuals might bind on the top edge instead of the left. Decide this before layout gets “final-final.”
Pros and cons (quick reality check)
Pros
- Lays flat (and often folds back 360 degrees)
- Flexible page counts (increments of 2)
- Great for practical, hands-on books
- Fast, common, and widely supported by print shops
Cons
- Not as “bookstore bookshelf” as perfect binding or casebound
- Binding edge limits usable page area
- Wire can bend; coil can snag or deform if abused
- Adds a production step (punch + bind), which can affect cost and turnaround
Simple checklist before you order
- Final size confirmed after trim
- Inside margin increased on the binding side
- Hole area kept clear of text and critical graphics
- Page count confirmed (increments of 2 is usually fine)
- Cover stock/lamination decided (especially for workbooks/cookbooks)
- Binding edge and orientation confirmed (left vs top)
- Binding diameter sized for the page count and paper thickness
Final thoughts
If your project needs to stay open, lay flat, and survive real use, wire and spiral binding is hard to beat. It’s not trying to be fancy literature on a shelf. It’s trying to be useful. And it usually succeeds.