If you’ve ever looked at a finished book, a crisp deck of cards, or a game box that actually closes properly, you’ve seen post-press printing doing its job. Printing gets all the glory because it’s colorful and loud. Post-press is the part that quietly decides whether your project feels premium… or feels like it lost a fight with a paper shredder.
Post-press is everything that happens after the pages (or sheets) are printed on larger parent sheets. It’s where flat printed sheets become real products: folded into signatures, collated into the right order, finished with coatings, bound into books, cut into cards, packed into boxes, and checked so the customer doesn’t open the shipment and immediately email you “why is page 47 upside down.”
Below is a practical tour of the post-press stages you’ll hear about most often, plus the common failure points and what to ask your printer so you don’t get surprised.
What post-press printing actually covers
Post-press can mean a lot, but it usually breaks into a few buckets:
- Making pages usable: folding, trimming, collating
- Making it feel finished: lamination, varnish, foil, emboss, spot coatings
- Making it hold together: binding and casing-in
- Making it shippable: drying/curing, QA checks, packing and assembly
- Making game components real: card cutting, corner rounding, deck collation, box build, kitting
The exact steps depend on what you’re making. A paperback book has a different post-press journey than a board game with cards, tokens, a rulebook, and a telescoping box. But the logic is the same: turn printed sheets into a durable, correct, finished product.
Post-Press Chapters
Folding Signatures
Most books aren’t bound from individual loose pages. They’re built from signatures, which are large printed sheets folded into multi-page sections.
What’s happening here
- Parent sheets are printed with multiple pages per side (imposition).
- Those sheets are folded in a specific sequence so the pages land in the right order.
- The folded sections become signatures, which later get gathered, stitched, glued, and trimmed.
Why folding matters
- Page order: Folding errors can scramble pagination even when the print file is correct.
- Creep and trim: In thicker books, inner pages shift outward slightly. If creep isn’t accounted for, your margins can look uneven after trimming.
- Cracking risk: Heavy ink coverage and some paper/coating combos crack at folds if scoring and grain direction aren’t handled right.
Quick things to ask your printer
- Grain direction: Is the sheet grain aligned for the fold and bind method?
- Scoring: Are folds scored when needed (especially heavier cover stocks)?
- Creep handling: Do they compensate for creep for thicker books?
Collation
Collation is the “make sure everything is in the right order” phase. Sounds simple. It isn’t, at scale.
What’s happening here
- Signatures (or stacks of cut pages) are gathered into complete book blocks in the correct order.
- Inserts, gatefolds, tip-ins, or special pages get added at the right points.
- For multi-component projects, this idea extends to assembling sets of parts that belong together.
Where collation goes wrong
- Missing signatures: You get a book with a chunk of pages missing.
- Double signatures: A section repeats. Everything “looks bound” but the content is wrong.
- Wrong version mix-ups: Two similar print runs get intermingled (nightmare fuel).
Simple QA tip
- Ask if they do barcode-driven gathering or another method that reduces human error when collation is complex.
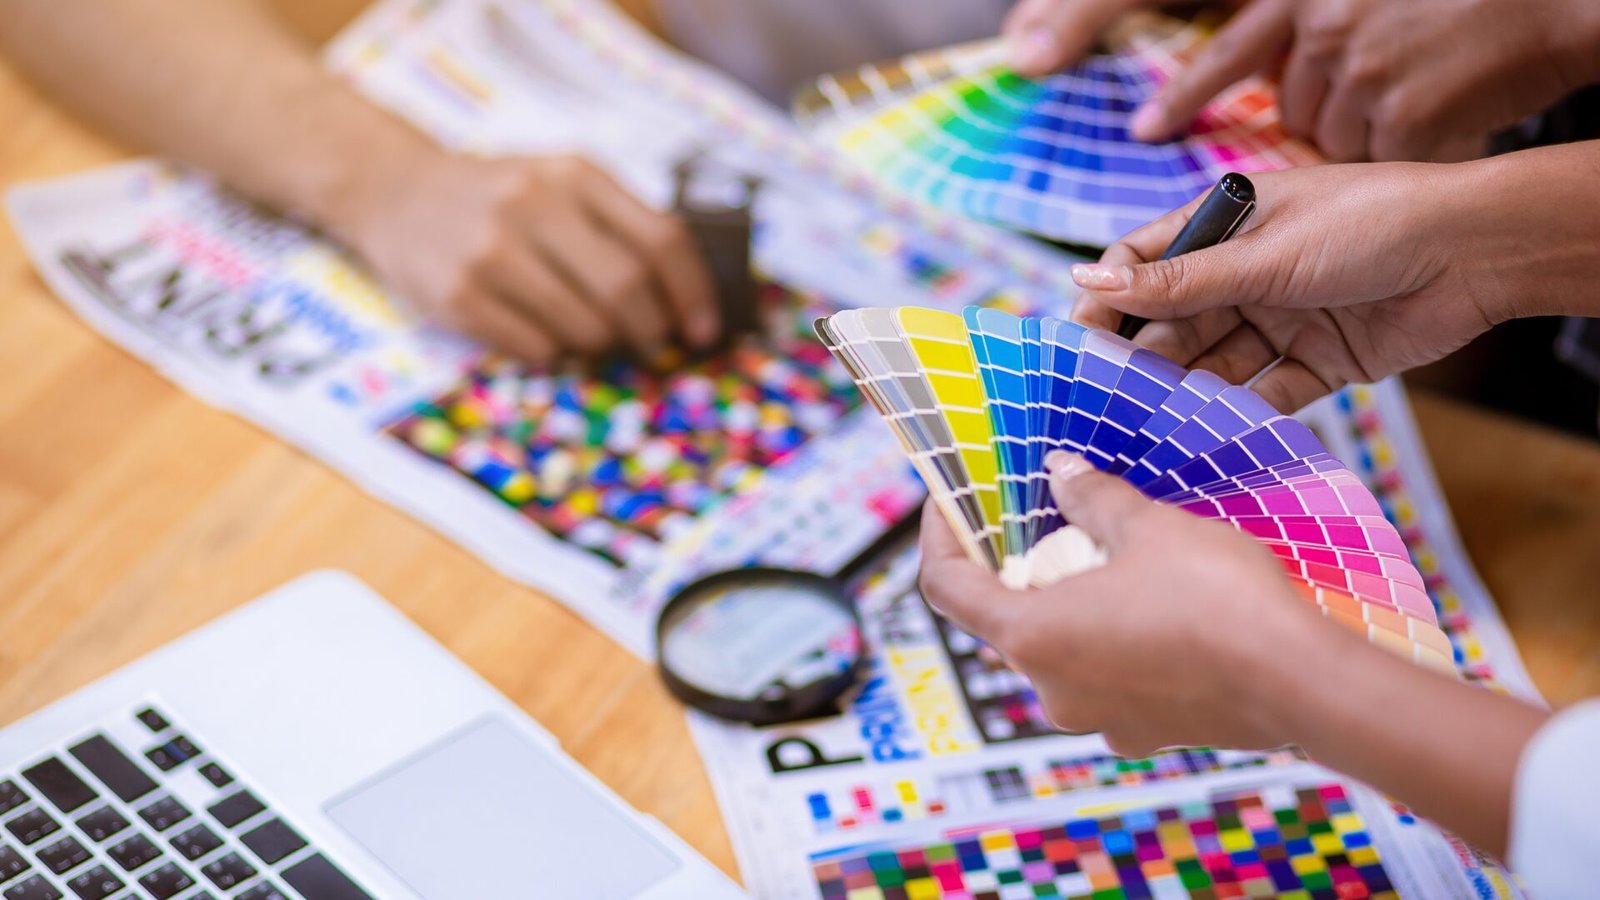
Finish
Finishing is where print becomes tactile. It’s also where costs can quietly balloon, and where “looks amazing” can become “why is it scuffed already.”
Common finishing options
- Lamination: matte, gloss, soft-touch, velvet-like films (great protection, changes the feel)
- Varnish: aqueous coatings, UV coatings (adds protection and visual pop)
- Spot UV: glossy highlight on specific areas (logos, patterns, accents)
- Foil: metallic or colored foil stamping (premium look, higher setup)
- Emboss/deboss: raised or pressed textures (subtle and expensive when done well)
- Edge treatments: painted edges, colored cores, specialty stock pairings
Tradeoffs to understand
- Matte looks great, shows abuse: Matte finishes can scuff or show rub marks, especially on heavy dark coverage.
- Soft-touch is a vibe, but it’s not indestructible: It can show fingerprints or abrasion depending on handling.
- Spot effects add alignment risk: Anything “spot” requires registration to be tight.
What to ask
- “What finish holds up best for heavy handling?”
If your product is handled a lot (cards, game boards, kids’ books), durability matters more than “ooh shiny.”
Binding
Binding is the stage where a book becomes a book. The binding method changes the feel, the durability, the lay-flat behavior, and the cost.
Common binding types
- Saddle stitch: staples through the fold (great for thin booklets)
- Perfect bound: glued spine (common for paperbacks)
- Case bound: hardcover style (premium, durable)
- Spiral / coil / wire: true lay-flat, very practical for workbooks
- Sewn binding: signatures stitched then reinforced (durable, premium)
Things that affect binding success
- Paper grain direction: wrong grain makes covers curl and spines fight you.
- Glue choice and spine prep: perfect binding can fail if the spine isn’t prepared correctly.
- Page count realities: saddle stitch has practical limits before it starts to bulge and look odd.
What to ask
- “Does this binding choice match how the product will be used?”
A cookbook wants lay-flat. A novel wants comfort. A rulebook wants durability and readability.
Quality Assurance
Quality assurance is the difference between “we shipped it” and “we shipped it correctly.” The best printers treat QA like a process, not a vibe.
What QA usually checks
- Trim accuracy: consistent size, no weird drift
- Registration: front-to-back alignment, spot effects alignment
- Color and density: consistent output across the run
- Binding integrity: pages secure, spine correct, cover aligned
- Collation accuracy: right order, no missing sections
- Finish defects: scuffs, scratches, bubbles, streaking, offsetting
How QA is often done
- In-line checks: inspecting samples during production
- End-of-line sampling: checking finished goods in intervals
- Defect thresholds: acceptable quality levels (AQL-style thinking), especially on large runs
What you should do
- Define what a “defect” is for your project. A tiny speck on a poster is annoying. A wrong card in a deck is a functional failure.
Drying
Drying is the stage everyone forgets until something arrives scuffed, tacky, or stuck together. Different print methods and coatings dry differently.
What’s happening here
- Inks and coatings need time and conditions to set, cure, or fully harden.
- Post-press steps like cutting, stacking, laminating, or packing can ruin a job if drying is rushed.
Common problems when drying is rushed
- Set-off: ink transfers to the sheet on top of it (ghosting, smears)
- Blocking: sheets stick together
- Scuffing: surfaces mark easily because coatings haven’t hardened
- Warping: moisture and heat changes shape and flatness
What to ask
- “How do you handle drying and cure time for this finish?”
If you’re doing heavy coverage, matte finishes, or UV coatings, drying and curing discipline matters a lot.
Card Game Production
Card game production is post-press turned up to hard mode. Books are linear. Games are a pile of different parts that all need to fit together and still look consistent.
Typical card component steps
- Printing: often on larger sheets with multiple cards per sheet
- Lamination/coating: for feel and durability
- Cutting: trimming into card sheets, then individual cards
- Corner rounding: consistent radius matters more than people think
- Smoothing/edge finishing: helps cards shuffle well and feel consistent
- Deck collation: ensuring the right cards are in the right deck, in the right count
- Packaging: tuckboxes, shrink, banding, or inserts depending on spec
Typical box and board steps
- Box printing and wrapping: printed wrap applied to rigid board
- Die cutting: inserts, trays, and any shaped pieces
- Assembly: lids, bases, wraps, glued structures
- Kitting: all components gathered and packed into the final box
Where things go wrong in games
- Cut drift: cards end up slightly off-center across a run
- Corner rounding inconsistencies: decks feel “off” when shuffling
- Mixed collation: wrong card counts or wrong versions in a pack
- Box sizing conflicts: the largest flat component often dictates box dimensions, which can quietly inflate cost and shipping
Smart planning tip
If one component is much larger than the rest, it can force the whole package to grow. That can affect everything: box cost, shipping tiers, shelf space, even how “premium” the product feels.
Final thoughts
Post-press is where you win or lose the “this feels legit” moment. Most print disasters aren’t caused by a printer forgetting how to print. They happen when post-press steps are rushed, mismatched to the product’s use, or not checked with real QA discipline.
If you want the simplest way to reduce risk: talk through post-press early, choose finishes that match how the product will be handled, and ask how they control collation and QA. Boring questions. Great results.